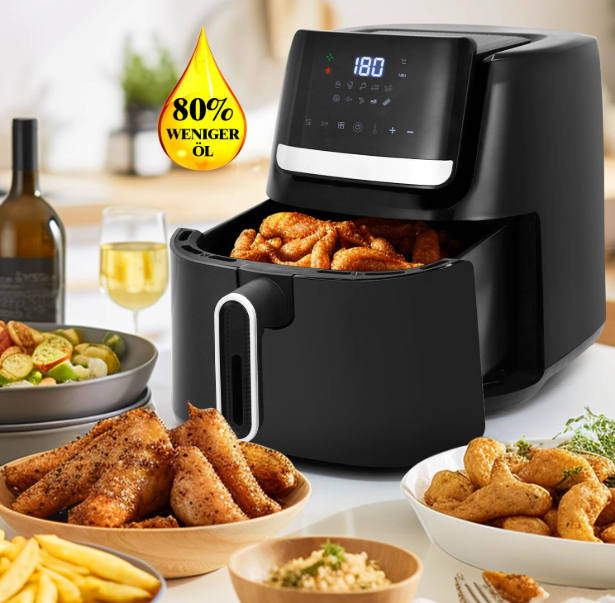
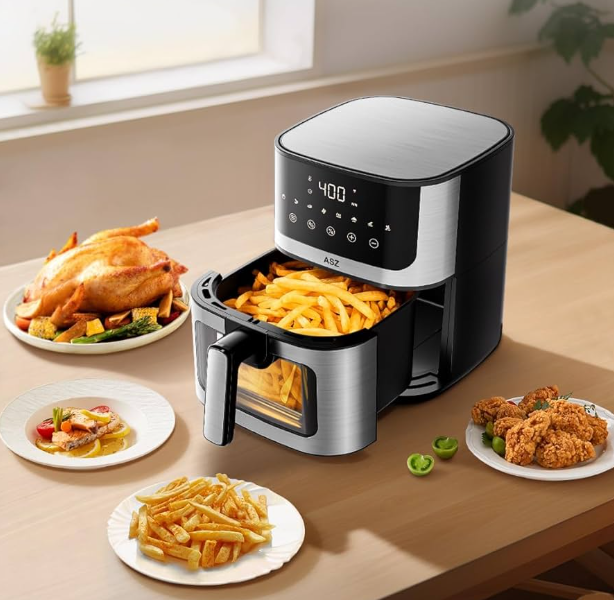
Let’s be honest, the moment you unboxed your air fryer, you envisioned a future filled with perfectly crispy fries, golden-brown chicken wings, and roasted veggies, all with a fraction of the oil. It’s a game-changer, right? But after a few weeks of delicious, oil-free creations, you might notice your culinary sidekick isn’t performing quite like it used to. Maybe things are starting to smoke a little, or there’s a lingering smell of last Tuesday’s salmon. This is where a solid routine of Air Fryer Maintenance Tips comes into play. Think of it not as a chore, but as the secret to keeping your machine humming and your food tasting fantastic for years to come.
My first air fryer was a revelation, but I quickly learned that neglecting the cleanup was a one-way ticket to a sticky, smoky mess. A little bit of care goes a long way. In this guide, I, Chef Airkit, will walk you through everything you need to know to maintain your air fryer like a pro, from the quick daily wipe-down to the satisfying deep clean.

Why Bother with Regular Air Fryer Maintenance?
You might be thinking, “It’s just a small appliance, how important can it be?” Well, more than you’d think! Consistent care isn’t just about keeping things looking pretty. It directly impacts your food, your safety, and your wallet.
- Better Tasting Food: Old grease and burnt food particles can go rancid, imparting a bitter, unpleasant flavor to your fresh meals. A clean air fryer means your crispy chicken tastes like chicken, not a ghost of meals past.
- Optimal Performance: The magic of an air fryer lies in its powerful convection fan circulating hot air. A buildup of grease on the heating element or fan can hinder this airflow, leading to uneven cooking and less-than-crispy results.
- Longer Appliance Lifespan: Just like a car, your air fryer needs regular tune-ups. Keeping its components clean prevents corrosion and strain on the motor and heating element, significantly extending its working life. You invested in a great tool; let’s make it last!
- Safety First: A heavy accumulation of grease is a fire hazard. When heated to high temperatures, this grease can start to smoke and even ignite. A clean machine is a safe machine.
The Daily Clean: Your 5-Minute Post-Cooking Ritual
The absolute best way to avoid a major cleaning headache is to tackle the small stuff right after you cook. Don’t let that grease set! This quick routine takes less than five minutes and makes a world of difference.
- Safety First! Always unplug your air fryer and let it cool down for at least 30 minutes. Never attempt to clean a hot appliance.
- Empty the Basket and Pan: Tip out any loose crumbs or food debris into the bin.
- Wash the Removables: Take out the basket and the drawer or pan it sits in. Wash them with warm, soapy water and a non-abrasive sponge. Most air fryer baskets have a non-stick coating, and using a harsh metal scourer will scratch and ruin it for good.
- Wipe the Interior: Grab a damp cloth or sponge and wipe down the inside of the main unit where the drawer slides in. You’d be surprised how much grease can splatter up in there.
- Dry Thoroughly: Before reassembling, make sure every component is completely dry to prevent any rust or mildew. You can air-dry them or use a soft kitchen towel.
That’s it! By making this a habit, you’ve already won half the battle in the war against grime.
The Deep Clean: A Weekly Spa Day for Your Air Fryer
Even with daily wipe-downs, your air fryer will need a more thorough cleaning session every week or two, depending on how often you use it and what you cook. This is our chance to tackle the heating element and any stubborn, baked-on grease.
What You’ll Need
- Warm, soapy water (dish soap is perfect)
- A non-abrasive sponge or soft-bristled brush
- A soft cloth or microfiber towel
- Baking soda (for tough grease)
- A wooden skewer or old toothbrush (for nooks and crannies)
Step-by-Step Deep Cleaning Guide
- Unplug and Disassemble: Make sure the unit is completely cool and unplugged. Remove the basket and drawer.
- Soak the Tough Stuff: If the basket and drawer have baked-on residue, fill your sink with hot, soapy water and let them soak for about 20-30 minutes. This will do most of the hard work for you.
- Tackle the Heating Element: This is the most overlooked step. Turn the main air fryer unit upside down to get easy access to the heating coil. Use a damp cloth or a soft sponge to gently wipe away any grease. Never spray cleaning solution directly onto the element. If there are stubborn bits, use a soft brush (like an old toothbrush) to gently dislodge them.
- Create a Baking Soda Paste: For seriously stubborn grease on the basket or pan, mix a bit of baking soda with water to form a paste. Apply it to the greasy spots, let it sit for 15-20 minutes, and then gently scrub with your non-abrasive sponge. The mild abrasive quality of baking soda works wonders without damaging the non-stick surface.
- Clean the Exterior: Wipe down the outside of your air fryer with a damp cloth to remove any fingerprints or splatters.
- Dry and Reassemble: Ensure every single piece is bone dry before putting your air fryer back together.
How to Get Rid of That Lingering Smell?
Sometimes, especially after cooking fish or bacon, a smell can linger. A simple trick is to “air fry” a lemon! Cut a lemon in half, place it in the basket, and run the air fryer at 180°C (350°F) for about 10-15 minutes. The citrus steam will neutralize odors and leave your kitchen smelling fresh.
Essential Air Fryer Maintenance Tips Beyond Cleaning
Proper care extends beyond just scrubbing. How you use your air fryer every day plays a huge role in its longevity and performance.
Don’t Overcrowd the Basket
This is probably the number one rule of air frying. You need to leave space for that hot air to circulate. Overcrowding the basket not only steams your food instead of crisping it, but it also forces the machine to work harder and can lead to more mess. Cook in batches if you have to; the results are worth it.
Protect the Heating Element
While cooking, be mindful of lightweight foods. Small pieces of breading, herbs, or even parchment paper can get blown up into the heating element by the powerful convection fan, causing them to burn and smoke. Use an air fryer rack or weigh down parchment paper with your food to prevent this.
"The single most neglected part of any air fryer is the heating element," notes kitchen appliance expert, Sarah Jenkins. "People clean the basket but forget the source of the heat. A greasy coil is inefficient and a potential fire risk. A gentle wipe-down when the unit is cool is the best preventative maintenance you can do."Mind the Exterior and Vents
Ensure the air fryer’s vents, usually located on the back or sides, are never blocked. This is crucial for proper ventilation and preventing the unit from overheating. Give the exterior a quick wipe to keep dust from being sucked into the machine.

Frequently Asked Questions
How often should I deep clean my air fryer?
A deep clean is recommended every 1-2 weeks for frequent users. If you only use it occasionally, once a month should be sufficient. The golden rule is to clean it whenever you notice a buildup of grease or a persistent smell.
Can I put my air fryer basket in the dishwasher?
Many air fryer baskets and drawers are listed as dishwasher-safe, but always check your manufacturer’s manual first. Personally, I recommend hand-washing. The harsh detergents and high heat of a dishwasher can degrade the non-stick coating over time.
What’s the best way to clean baked-on grease from an air fryer?
The baking soda paste method is a fantastic, non-toxic solution. Mix baking soda and a small amount of water into a thick paste, apply it to the caked-on grease, let it sit for about 30 minutes, and then scrub gently with a non-abrasive sponge. It should lift right off.
Why is my air fryer smoking?
Smoking is usually caused by one of two things: excess grease from fatty foods (like bacon or burgers) dripping down and burning, or food particles that have been left in the bottom of the drawer from a previous cook. To prevent this, empty any rendered fat halfway through cooking and always start with a clean machine.
How do I get rid of the plastic smell from a new air fryer?
That “new appliance” smell is common. Before your first use, wash all removable parts. Then, run the air fryer empty for 15-20 minutes at a high temperature (around 200°C or 400°F). This will help burn off any residual manufacturing coatings. You can also try the lemon trick mentioned earlier.
Your Partner for Crispy, Clean Cooking
Your air fryer is an incredible tool, and with a little bit of love and care, it will be your trusted kitchen partner for countless delicious and healthy meals. By incorporating these simple routines, you’re not just cleaning an appliance; you’re investing in its performance, safety, and longevity.
Now that you’re armed with these air fryer maintenance tips, you can cook with confidence, knowing every meal will be as perfect as the first. So go ahead, get cooking, and enjoy the crispy, guilt-free goodness you deserve. For more inspiration, feel free to browse our collection of [healthy and delicious Airkit Home recipes].